 zrsPOS
Add a printer
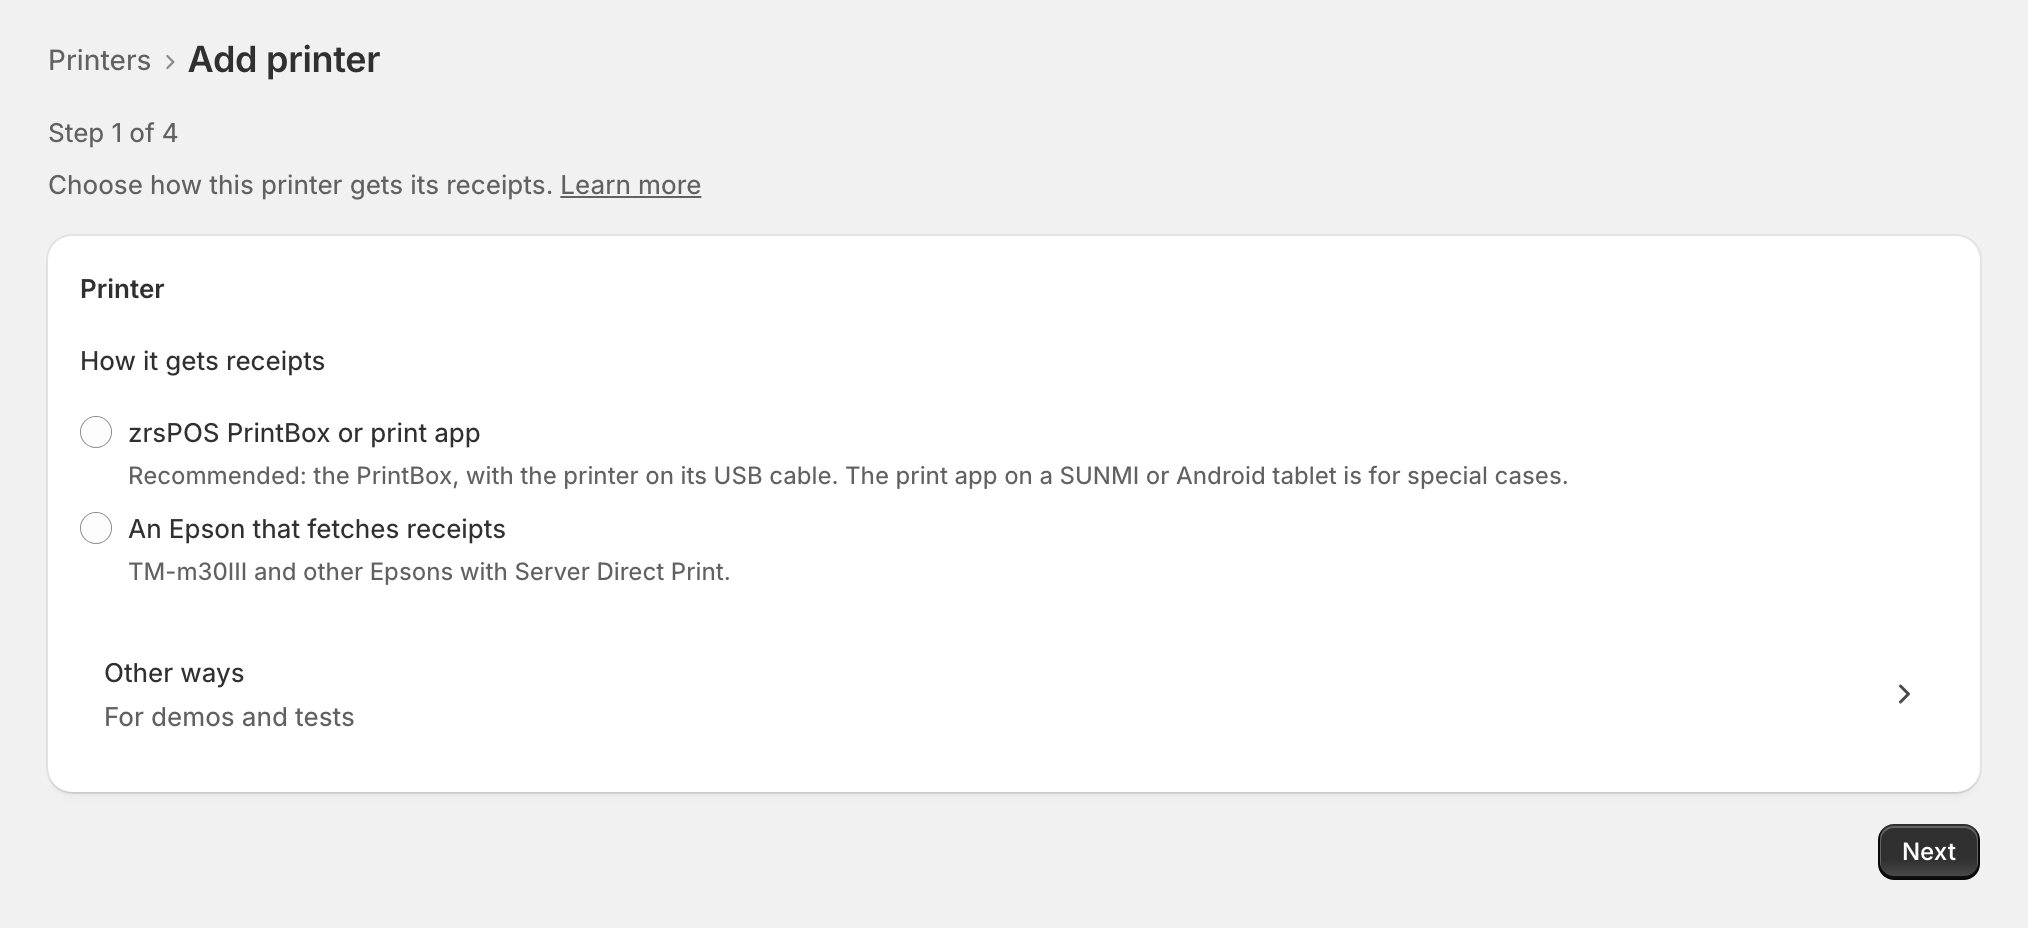
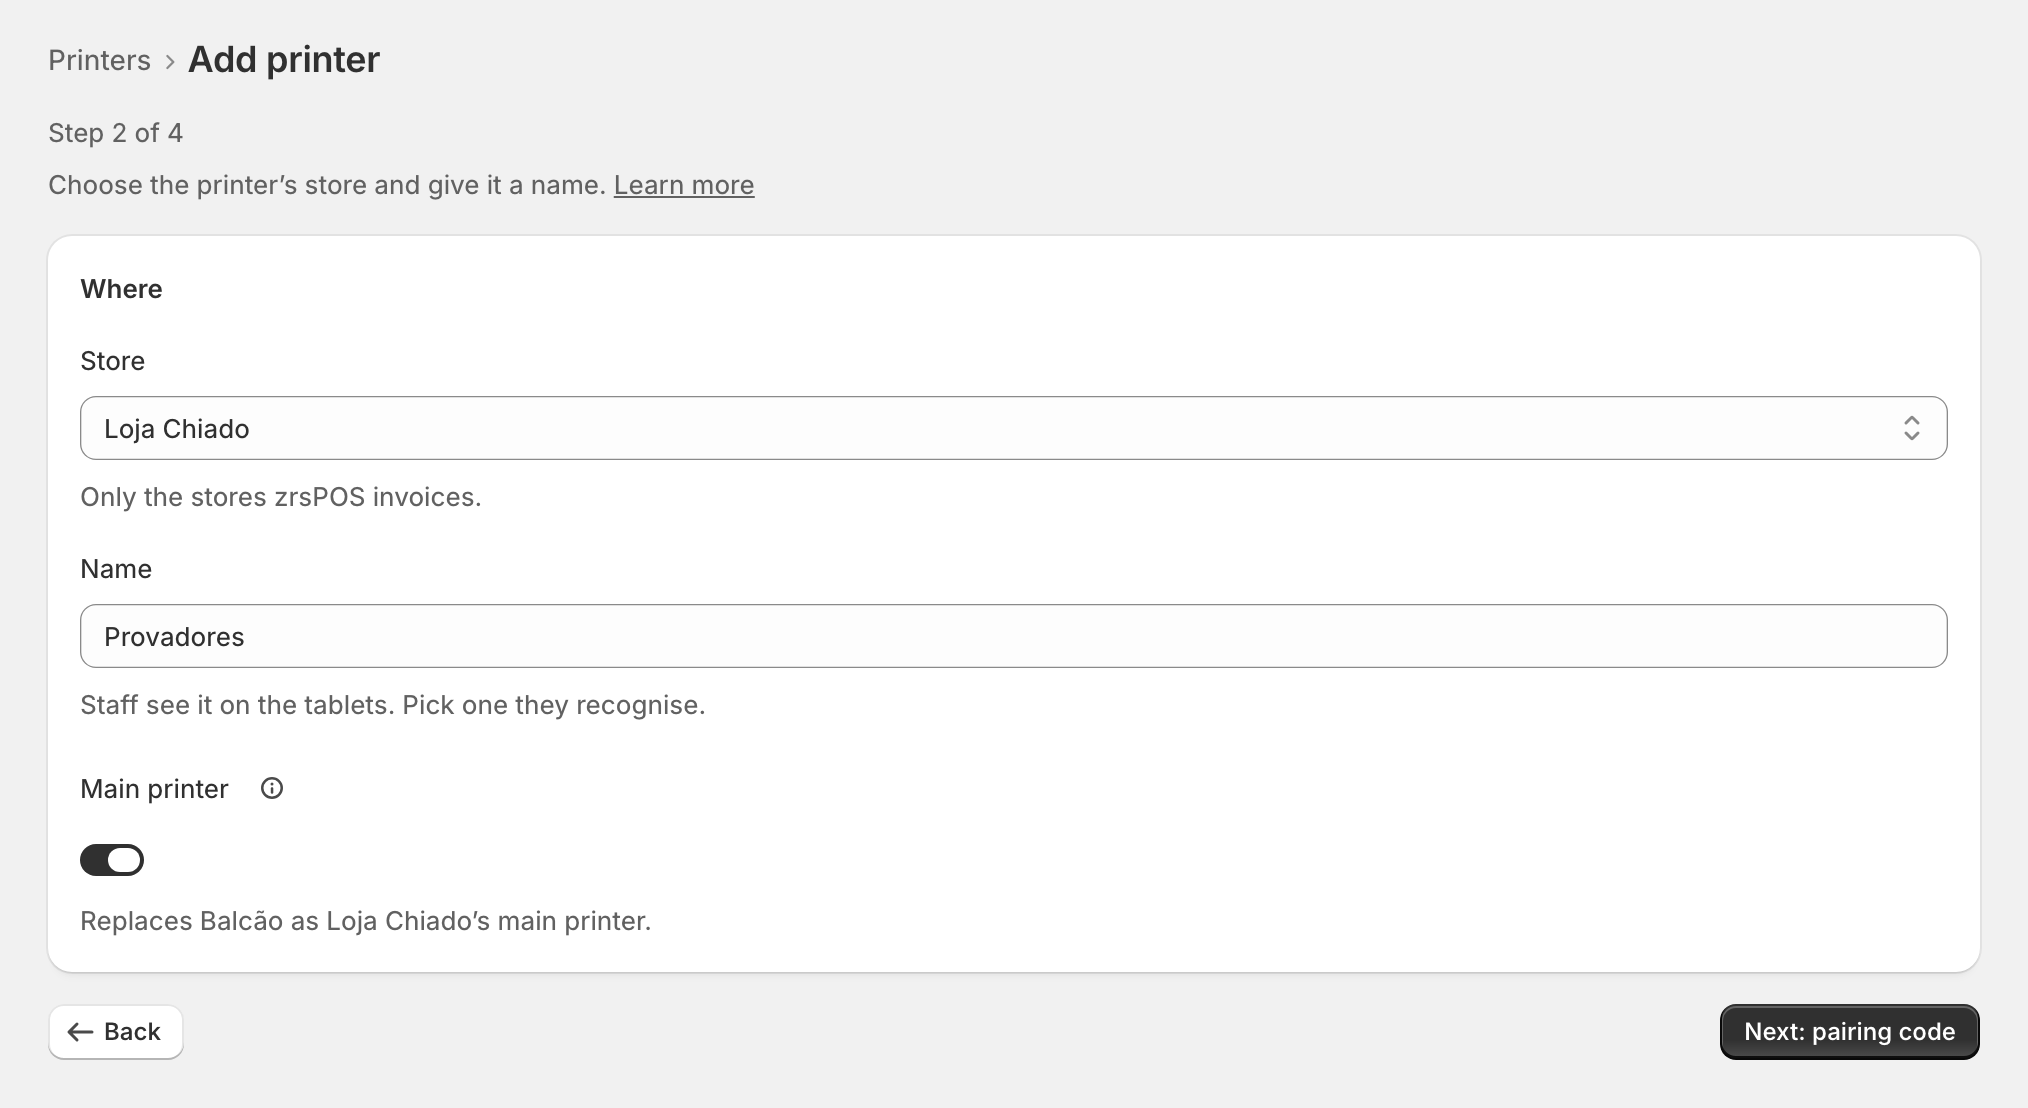
The Add printer task in zrsPOS, one step per page: how it gets receipts, where it is, connect, test.
In zrsPOS → Settings › Printing & delivery › Printers, press Add printer. The task has one step per page.
The four steps
How it gets receipts: zrsPOS PrintBox or print app (recommended: the PrintBox, with the printer on its USB cable), An Epson that fetches receipts, or, under Other ways, straight to the printer's address.
Where: the store (only the stores zrsPOS invoices), a name staff recognise ("Balcão"), and whether it becomes the store's Main printer. The first printer at a store is always its main one.
Connect, depending on how it gets receipts:
- PrintBox or print app: a QR code and a 6-digit code, valid 10 minutes. Type it on the PrintBox's page, or scan it in zrsPOS Print on the tablet. Paired shows by itself, with the printers it found. See Set up a PrintBox or Set up the print app.
- Epson: the printer is saved, and the page shows its Server URL and Printer ID to paste into the Epson. See An Epson that fetches receipts.
- Straight to the address: the Address type (zrsPOS DDNS, your own DDNS name or a fixed IP), the Public address and the Router port (a whole number from 1 to 65535). Show the router guide says what to set on the router.
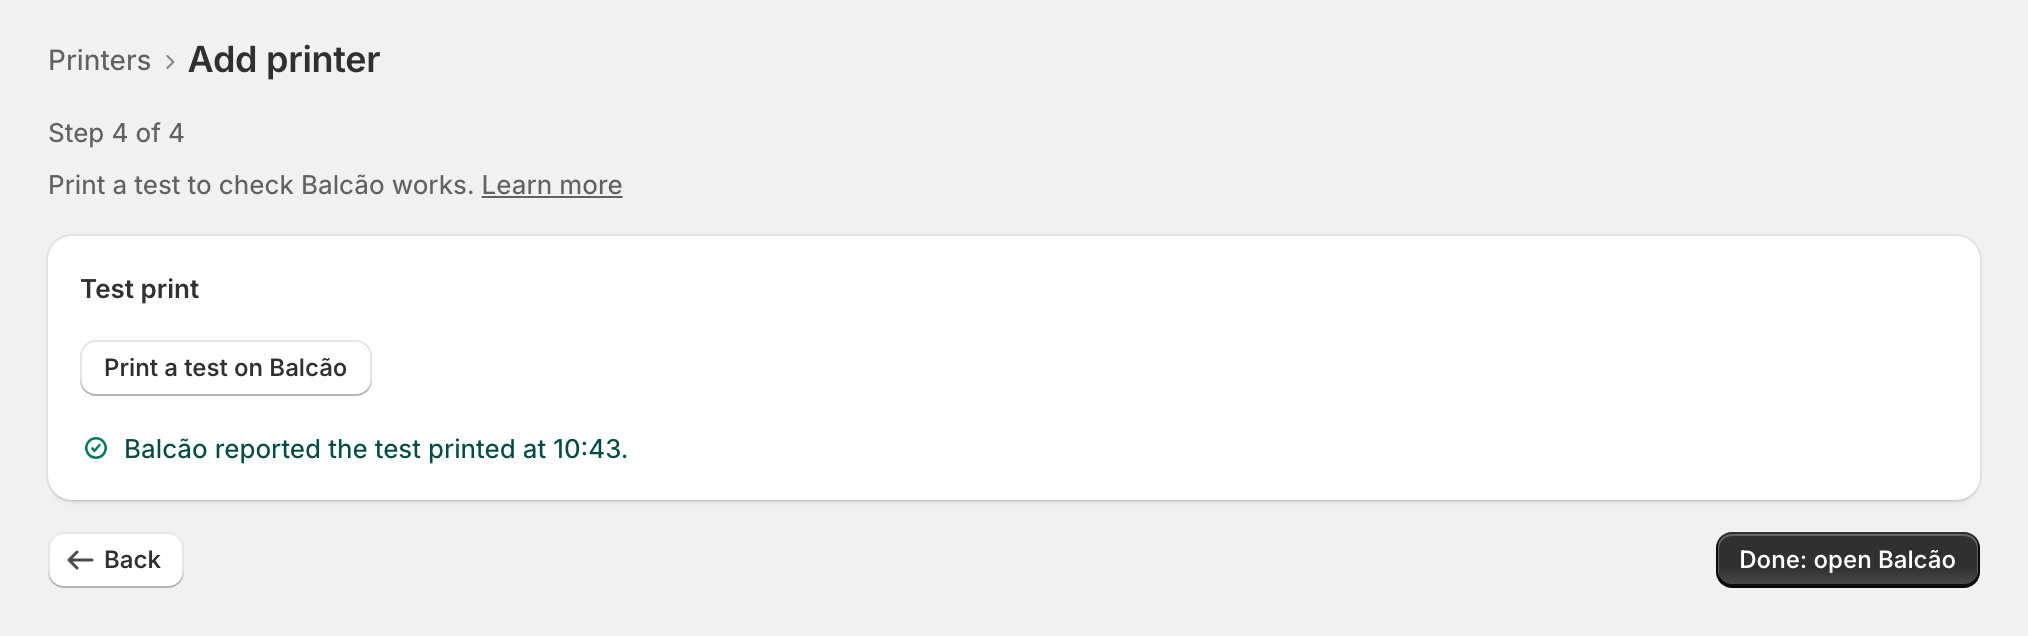
Test print: prints a test and says whether it printed, or why not.
Finish later
Each step has a way out. Finish later: open Printers while pairing, or Finish without a test: open … on the last step. A PrintBox or print app keeps looking for its printer by itself.
Edge cases
- Leaving before the printer is saved asks first: nothing is kept.
- zrsPOS prints nothing (you print from SAGE, or e-mail only): choose zrsPOS prints first; then add printers.
- No store yet: zrsPOS invoices no store, so a printer has nowhere to go. Set up your stores first: Stores.
- The code runs out while you set up the box or tablet: the page offers a new code.
- It found no printer: pairing worked, but no printer showed. For a PrintBox, connect the printer by USB cable, network cable or the PrintBox’s Wi-Fi and switch it on (a PrintBox linked again lists the printers it took back); for the print app, switch the printer on and allow Bluetooth in zrsPOS Print. It is found by itself.
- A read-only plan: adding a printer needs a plan that allows changes.
- Straight to the printer's address opens the printer to the internet: for demos and tests only.
- Changing how an existing printer connects runs the same task from the printer's page; it keeps its store and name. See A printer's page.
More in Printing
- Choose how to print
- Who prints?
- Set up a PrintBox
- The PrintBox's status page
- Swap or add a printer on a PrintBox
- Move, unlink or reset a PrintBox
- Set up the print app
- Printers the print app can use
- USB printers and the print app
- Keep the print app running
- An Epson that fetches receipts
- A printer's page
- Printers and their status
- Receipts by e-mail
- Gift receipts
- Nothing prints: what to check